How to create a volume
Log in to the Openstack web dashboard, and, from the upper menu, select the project in which you want to create a volume.

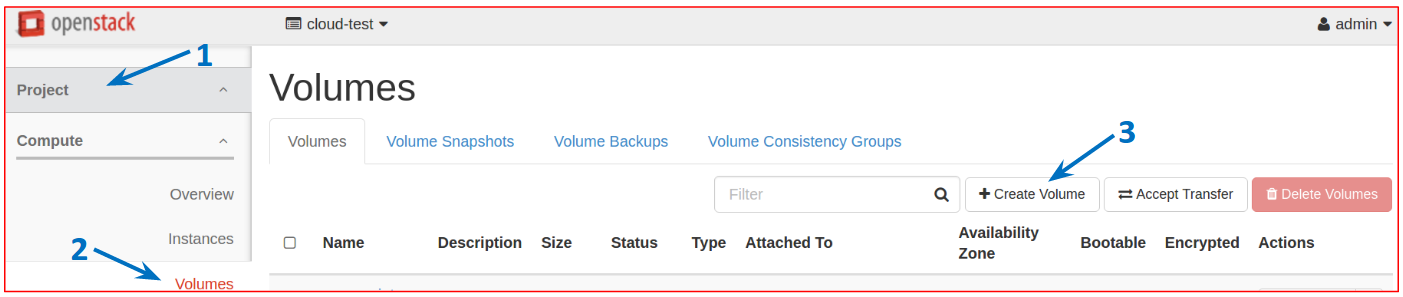
In the left panel, click Project, then Volumes and then the Create Volume button in the upper right part of the page.
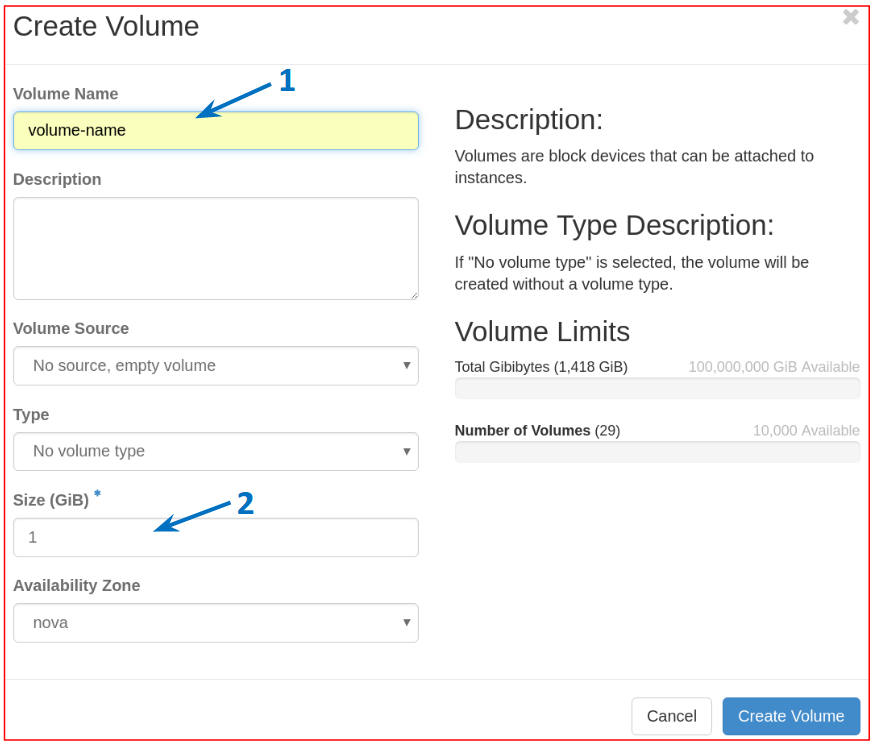
In the new window, configure the volume, specifying a name in Volume Name and the required size in GiB in Size (GiB); once the desired configuration has been chosen, click the button Create Volume to create it, as in the figure.
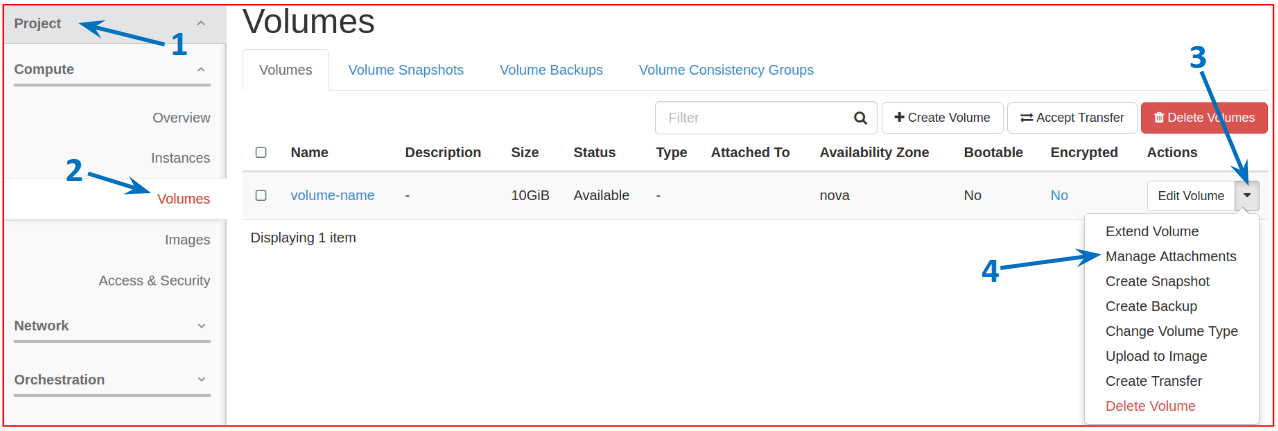
To attach the volume to a VM in the same project, click Project, and then Volumes. Click the menu under Actions corresponding to the volume you have created and select Manage Attachments, as shown.
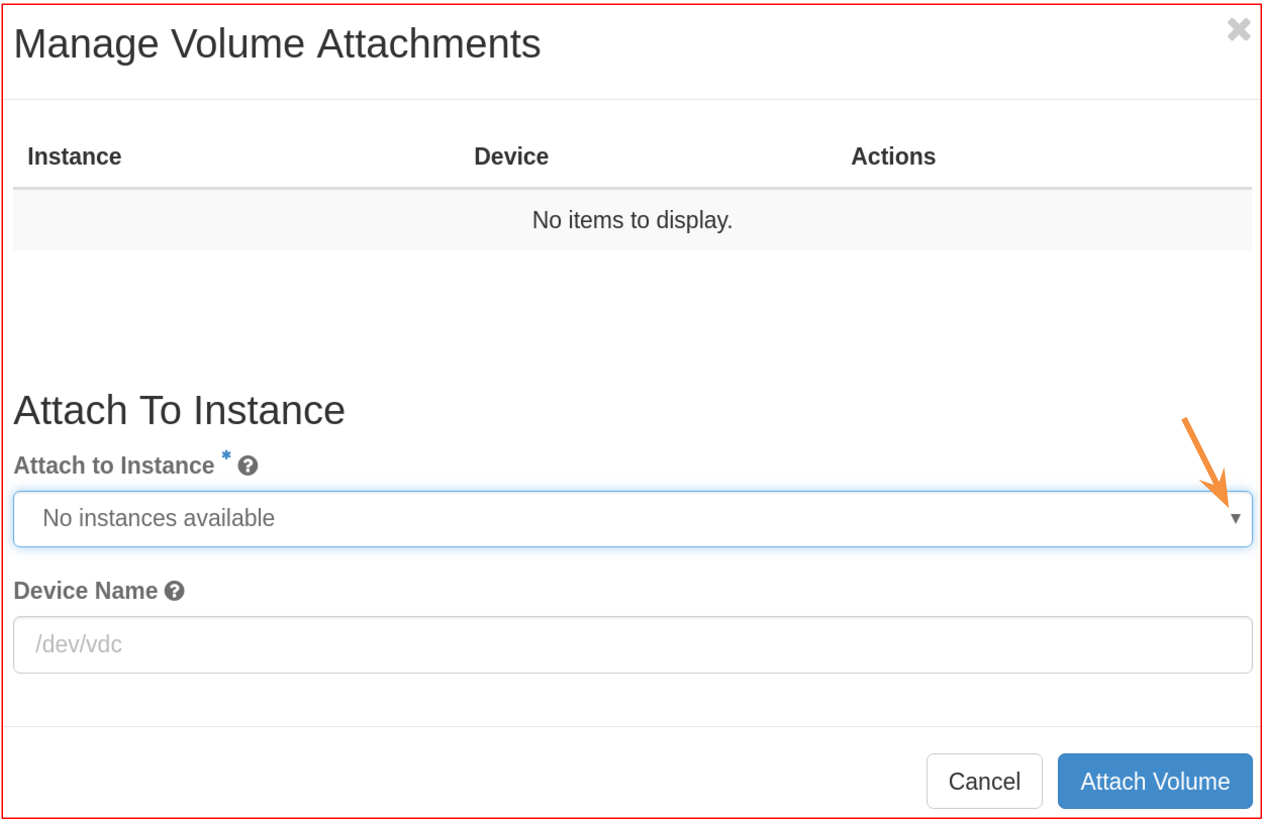
In the new window, in Attach to Instance menu, select the VM to which you need to attach the volume, and then click Attach Volume.